
How to Get Your Property Airbnb-Ready in 30 Days: A Step-by-Step Setup Plan

“Thirty days of preparation can change everything. Take one step each day, stay intentional, and arrive ready for what’s next.”
Most new hosts assume launching a vacation rental takes three to six months. It doesn't. With a focused plan, you can take a property from empty to fully booked in 30 days — but only if you tackle the work in the right order.
This Airbnb setup checklist walks through that order: legal and safety first, then furnishing, then listing optimization, then operations. Skip a step and you'll pay for it later in fines, refunds, or one-star reviews that take months to bury.
The 30-Day Plan at a Glance
Week 1 — Confirm you can legally host, get proper STR insurance, and make the home safe.
Week 2 — Furnish and stage for both real-life comfort and listing photos.
Week 3 — Stock essentials, write the listing, and price against actual comps.
Week 4 — Deep clean, automate check-in, and run a test stay.
Launch day — Go live across multiple platforms and over-deliver on your first 10 bookings.
If you're an Austin host or want help fast-tracking this timeline, a short-term rental setup service can compress it to under two weeks.
Week 1: Legal Checks, Insurance, and Safety
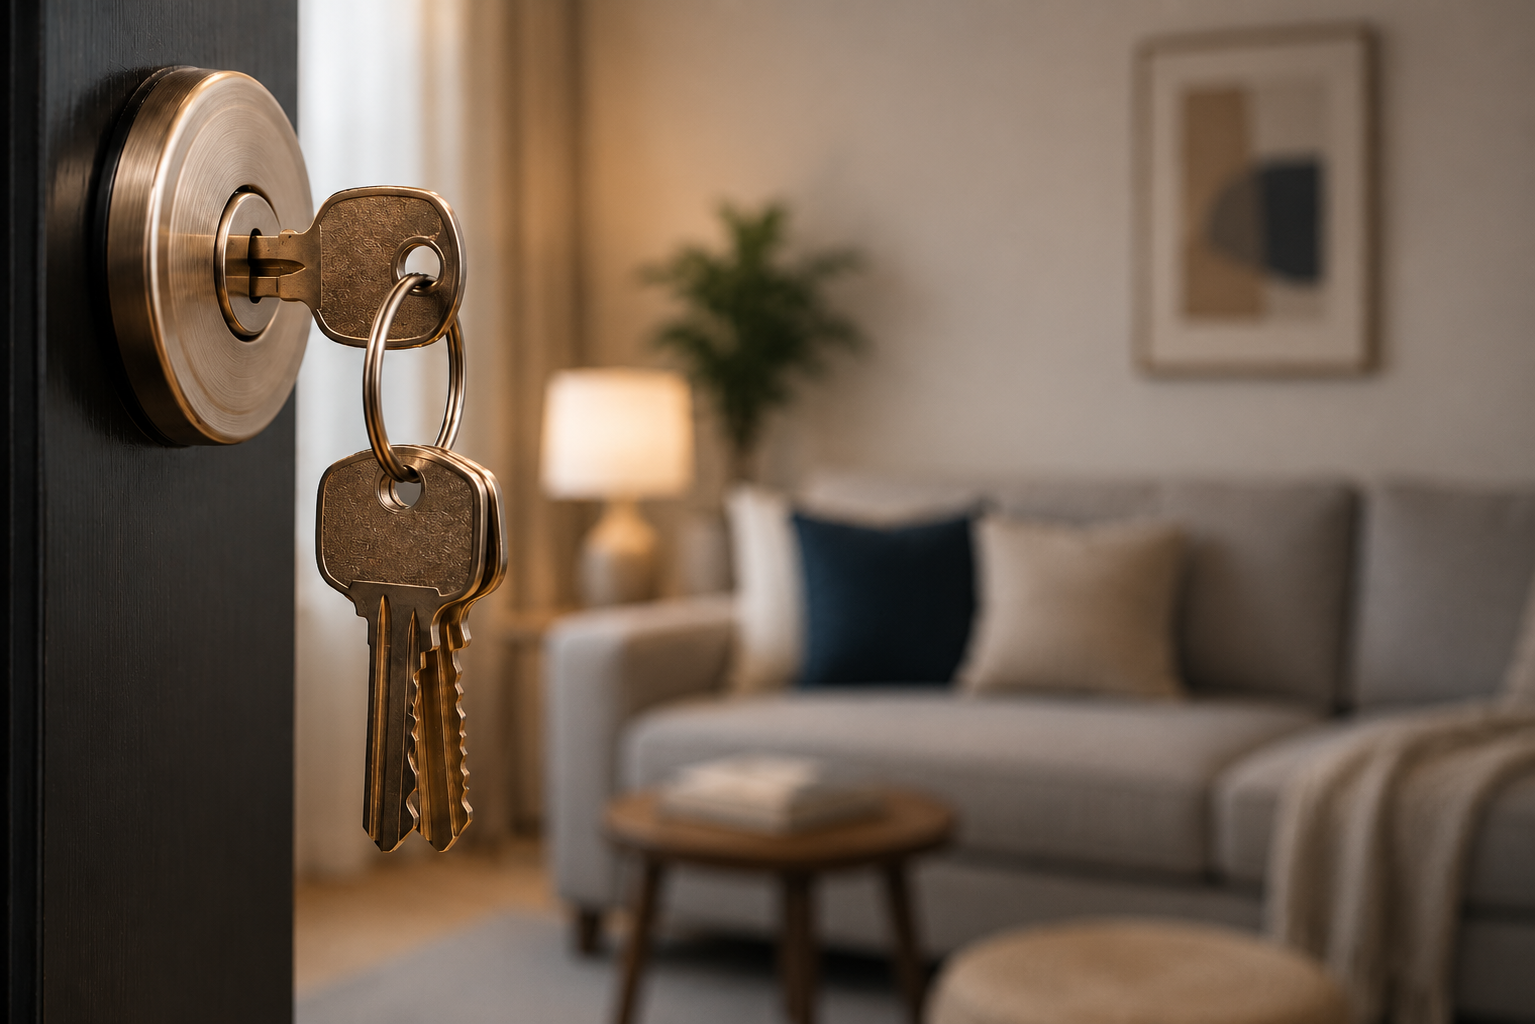
“Preparing an Airbnb isn’t just about making it beautiful — it’s about building trust through security, legal readiness, and proper insurance before guests ever arrive.”
Before you spend a dollar on furniture, confirm you're actually allowed to host. This is the part new hosts most often skip, and the part that produces the most expensive mistakes.
Verify You Can Legally Operate
Check four things in order:
Your mortgage agreement. Some lenders restrict short-term rentals or require written approval.
HOA or lease rules. Many communities ban or cap STRs outright.
City and county ordinances. Most major markets now require permits, occupancy taxes, or registration. Austin, for example, requires a short-term rental license and restricts non-owner-occupied properties in many residential zones.
State-level requirements. Sales tax and hotel occupancy tax registration usually live at the state level.
Fines for operating without a permit commonly run $500–$2,000 per violation, and some cities issue them per day. If local rules feel like a tangle, a property manager who knows your market can save you the headache and the penalty.
Get Proper STR Insurance
Airbnb's AirCover is host protection, not insurance. Standard homeowners' policies typically exclude commercial use — which is what short-term renting becomes the moment a paying guest walks in. Talk to a broker about a dedicated short-term rental policy. Expect to pay $1,500–$3,000 annually depending on property value and market.
Make the Home Safe
A vacation rental is a hospitality business, and guests notice the safety basics. At minimum:
Working smoke alarms in every bedroom and on every floor
Carbon monoxide detectors near sleeping areas and any gas appliances
Fire extinguisher mounted visibly in the kitchen
Stocked first-aid kit
Emergency exit plan posted near the front door
Walk through the property and remove trip hazards: loose rugs, exposed cords, wobbly railings. Label the breaker panel and water/gas shutoffs so guests can find them at 2 a.m. without calling you.
Week 2: How to Furnish an Airbnb Property That Books Well
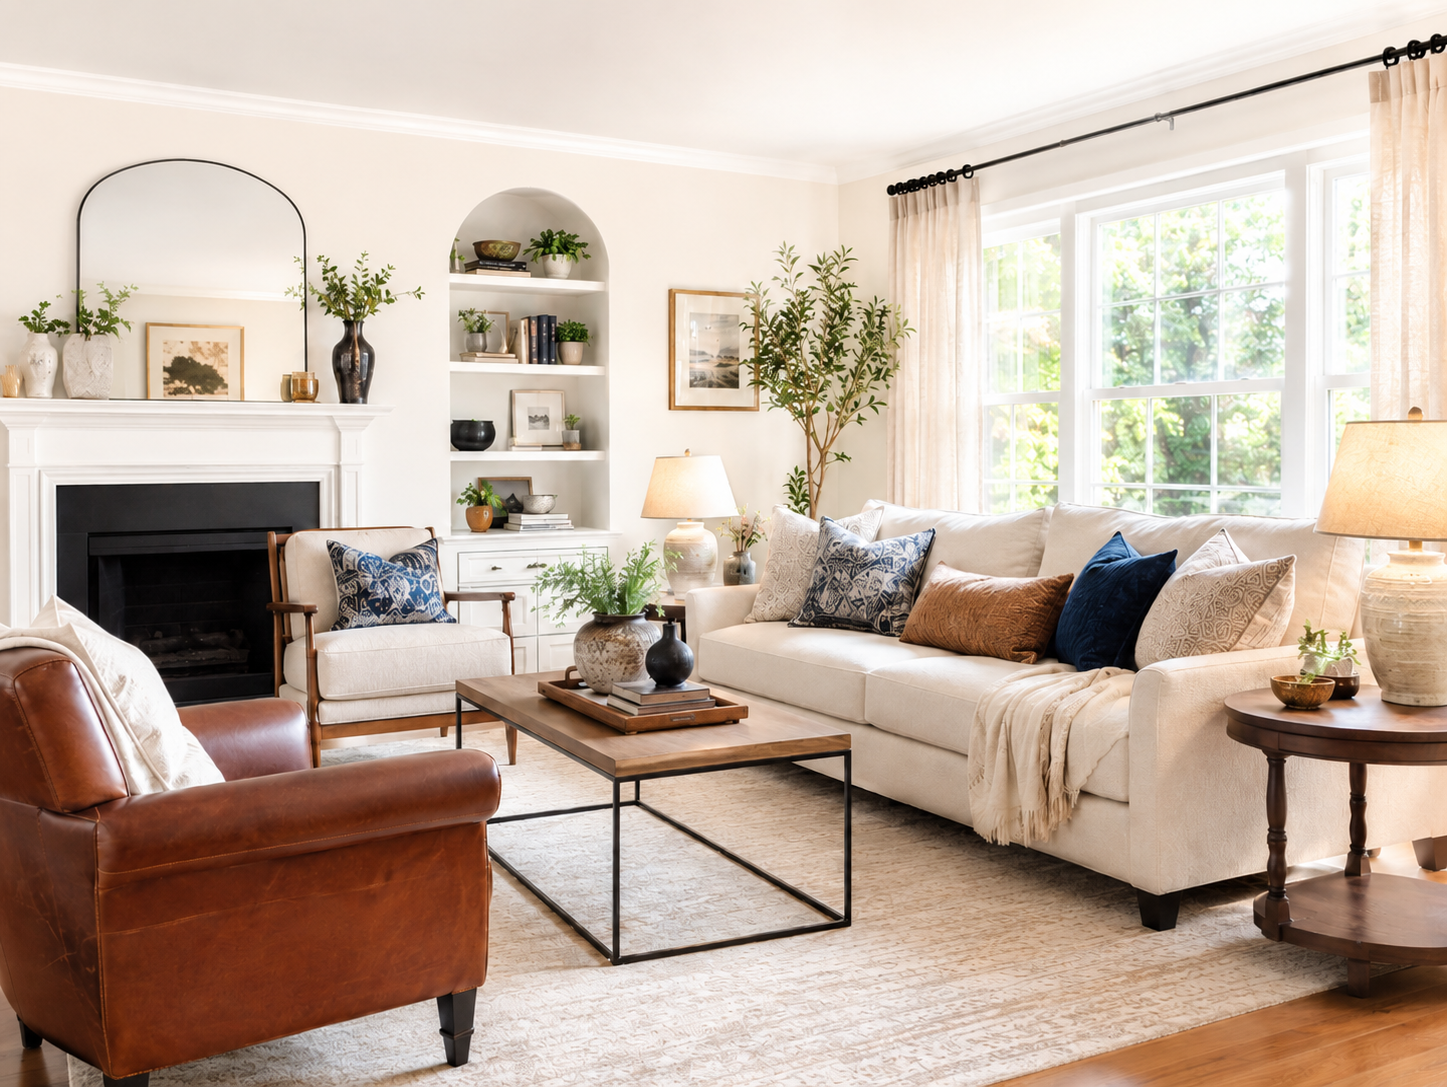
Furnish with comfort, function, and style in mind — because the right details help your Airbnb photograph beautifully, feel guest-ready, and inspire more bookings.
With permits and safety handled, turn to the visible work — making the space function for groups of strangers and photograph well enough to win the click.
Furnish for Durability and Photos
Your furniture has two jobs: survive heavy use and look great in a listing. Cheap particleboard fails on both counts within a year. Mid-range upholstered pieces and solid-wood tables hold up far longer and don't need replacing after the first messy guest.
Prioritize in this order:
Beds and mattresses. Guests notice these first and mention them most in reviews. A queen mattress in the $400–$800 range hits the sweet spot for comfort and durability.
Seating. Enough for your maximum occupancy, plus one or two extras for groups that stretch the limit.
Dining table. Sized to seat everyone the listing sleeps.
Storage. Dressers, nightstands, and luggage racks. Guests need somewhere to put their stuff, and a place without storage feels half-finished.
Airbnb Staging Tips That Actually Increase Bookings
Staging is where bookings are won or lost, because staging is what your photos capture. A well-staged 600-square-foot studio routinely outperforms a poorly staged 2,000-square-foot house in the same neighborhood.
Three rules:
Declutter and depersonalize. Remove family photos, religious items, and anything that signals "this is someone else's home." Guests want to feel like the space is theirs.
Layer warmth. Throw pillows, a textured blanket on the sofa, a rug under the coffee table, two lamps in every room. Overhead lighting alone reads as institutional in photos.
Style the surfaces. A coffee table book, a fruit bowl, a small plant. These details disappear in person but make photos look curated.
End Week 2 by shooting your photos — or hire a real estate photographer for $150–$300. The investment usually pays back inside the first three bookings.
Week 3: Essentials, Listing Creation, and Pricing

Your space is ready. Now stock it and market it.
The Airbnb Essentials Checklist for Hosts
Guests have baseline expectations. Missing any of these almost guarantees a deducted star.
Kitchen: Coffee maker, kettle, toaster, basic cookware (one large pan, one saucepan, one stockpot), full set of dishes and utensils for max occupancy, dish soap, sponges, salt and pepper, cooking oil.
Bathroom: Shampoo, conditioner, body wash, hand soap, at least two extra rolls of toilet paper per bathroom, hairdryer, plunger, bath mat, two bath towels and one hand towel per guest.
Bedroom: Two pillows per guest, extra blanket per bed, blackout curtains or shades, ample hangers, a small mirror.
Common areas: Fast Wi-Fi (post the network and password prominently), a smart TV with at least one streaming app, climate control (fan or space heater as backup), and a small selection of board games or books.
Welcome touches that consistently move review scores don't have to be expensive. A handwritten note, a local snack, and a printed guide to nearby restaurants run under $15 and reliably show up in reviews.
How to List a Property on Airbnb Successfully
Your title and first photo decide whether anyone clicks. The next five photos and your description decide whether they book.
Title formula: [Property type] + [Standout feature] + [Location cue] Example: Modern 2BR with Skyline Views — 5 Min to Downtown Austin
Keep titles under 50 characters where possible — Airbnb truncates longer ones on mobile.
Description structure that converts:
Two-sentence hook describing the experience, not the amenities.
A quick "who this fits best" line — couples, families with kids, remote workers.
Room-by-room highlights with one specific detail per room.
Neighborhood and nearby attractions with approximate drive times.
Honest mention of any quirks (third-floor walkup, street parking only). Surprising a guest at check-in costs you more than losing a booking upfront.
Price Against Real Comps
Research at least 10 comparable listings within a half-mile radius. Note base prices, weekend premiums, and how often they appear booked. Most new hosts overprice by 15–25% in month one and miss the early-booking momentum that drives the reviews that drive the algorithm.
Two practical options for getting this right:
Dynamic pricing tools like PriceLabs or Wheelhouse adjust nightly rates based on demand. Cost runs $20–$50 a month.
A property manager's pricing service if you'd rather not learn the algorithm.
List on Multiple Platforms
Don't rely on Airbnb alone. Cross-listing to Vrbo and Booking.com typically increases first-year occupancy by 15–25%. Use a channel manager — or a property management service — to keep calendars synced and prevent double-bookings.
One scheduling note: new Airbnb listings can take up to 72 hours to appear in search results. Publish early in the week so you're discoverable by the weekend.
Week 4: Cleaning, Automation, and Final Checks
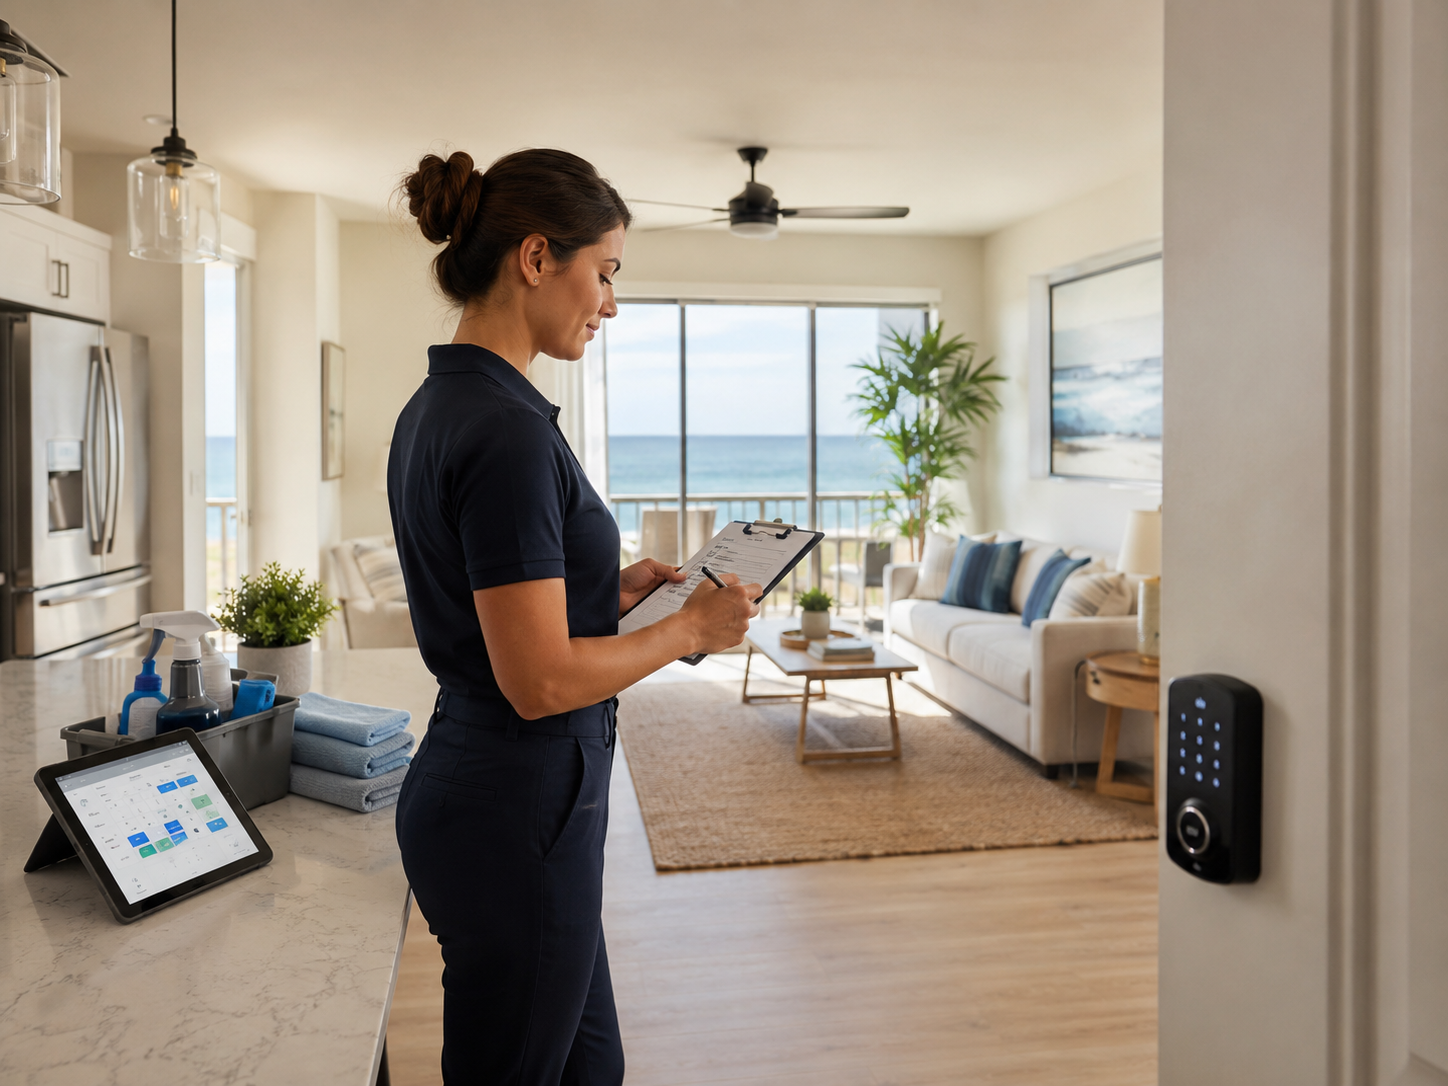
“Great Airbnb preparation doesn’t end with cleaning — it’s completed through smart automation and final checks that make every stay guest-ready.
The final week is operational setup. This is the work that separates hosts who burn out by month three from hosts who scale.
Build a Cleaning System You Can Trust
Cleaning is the single biggest operational risk in short-term rentals. A missed turnover means a refund, a bad review, or both.
If you'll clean yourself, build a written checklist covering every room and every restock category, and take photos after each turnover so you have a baseline to spot what's missing.
If you'll hire help — and most hosts eventually do — interview at least three cleaners specifically experienced with short-term rentals. Standard residential cleaners often miss STR-specific tasks: restocking consumables, hotel-style bed staging, photographing any damage. Expect $25–$50 per hour or $100–$250 per turnover depending on property size and market.
A quick search for "Airbnb cleaning and setup service near me" will surface specialized companies that handle both the initial launch and ongoing turnovers.
Automate Check-In and Guest Communication
Self-check-in improves the guest experience and saves you from being on call at 11 p.m. Install a smart lock with rotating codes ($150–$250 one-time) or use a lockbox if you're testing the waters.
Set up automated messages for:
Booking confirmation (sent immediately)
Check-in instructions (24 hours before arrival)
Mid-stay check-in (the day after arrival)
Checkout reminder (morning of departure)
Review request (a few hours after checkout)
Airbnb's scheduled messages handle the basics. Tools like Hospitable or Hostfully — or a co-hosting service — do more.
Run a Test Stay
Before you go live, have a friend stay one night and use the space exactly as a guest would. They should:
Follow only the written check-in instructions you've drafted
Try the Wi-Fi from every room
Run the dishwasher, washing machine, and shower
Note anything confusing, missing, or weird
You'll catch problems that are invisible to you because you live with them.
Launch Day and Beyond
By day 30 your listing is live. Now the optimization work begins.
The first 10 bookings matter disproportionately. Respond to every inquiry within an hour. Over-deliver on the first few stays with a small upgrade, a faster response, a thoughtful welcome gift. Those first reviews shape your search ranking for months.
Track these four metrics in your first 60 days:
Response rate and time — aim for 100% within an hour.
View-to-booking conversion — if it's low, photos or pricing need work.
Review score — anything below 4.8 needs investigation.
Cleaning fee complaints — the fastest signal that something is off.
When to Hire an Airbnb Property Setup Service

“Sometimes the smartest step in Airbnb preparation is knowing when to bring in the right team.”
If 30 days feels tight — or you're managing the launch from out of town — a full-service setup company can compress the timeline to 10–14 days. STR Management Co works with Austin and Texas hosts on exactly this: permit guidance, furnishing, staging, listing creation, cleaning vendor setup, and 24/7 guest support after launch.
Most setup engagements are priced as a one-time flat fee. Ongoing management is separate, typically billed as a percentage of bookings or a flat monthly fee.
Your Next Step
Pick a Monday and start Week 1 this week. If you wait for the "right time," the 30 days never start.
Have questions about a specific step — permits in your city, furniture sourcing, pricing strategy? Drop them in the comments below. And if you'd rather hand the setup to someone who's done it 100 times.